This is also one of the things I used to spend much time on before, like, reading a lot of exciting things, then making a quick note out a concept card or on a specific note software, then… forget it, never remember it again; Or even if I remember, I don’t know how to find it again.
And after watching this video, I think I have found one more method that helps me a lot in taking notes/research, which is the extensionSAVE TO NOTION.
What is Save to Notion?
Save to Notion is an extension that runs on web browsers such as Google Chrome, allowing you to save the page content you are reading into a specified Notion database, and the unique feature that makes money is: Allows to select tags and properties according to the database’s preset settings.
This point is highly convenient. I will explain this to everyone below.
Why i choose Save to Notion?
There are three main reasons:
Help you save time (a lot) while taking notes and researching.
Help you build a database with many topics with a smooth flow.
It’s free, till now.
How can you use Save to Notion?
You can watch the video that I attached at the top of the article to get an idea of how this extension works:
Note everything you read in a day
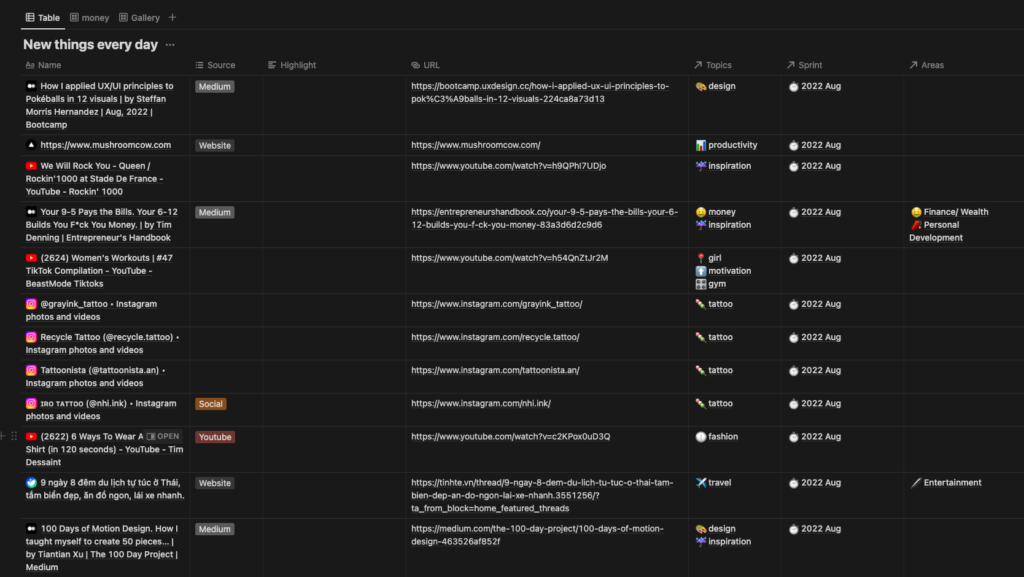
As you can see in the picture, I have created a table named New Things Every Day, where I record the things I watch in a day, categorized by related Topics.
Name, URL, and a thumbnail will be automatically added by Save to Notion. This will help me reduce 80% time to save to my database.
Save the quality articles for every topics (If you are a Researcher)
If you need more than just saving links by topics, then Save to Notion has a beneficial function called “Clip Page Content” – it will automatically save all the content of the article, both text, and image, in your Notion tag. It’s cool.
Save the resource for the future use (if you are a 1 Designer)
This is the Resource Design I did by manual method before: copying and pasting links takes time & is a bit confusing, so I can find the links I like again; usually, I’m lazy & stop going to the sites I use & find new always good.
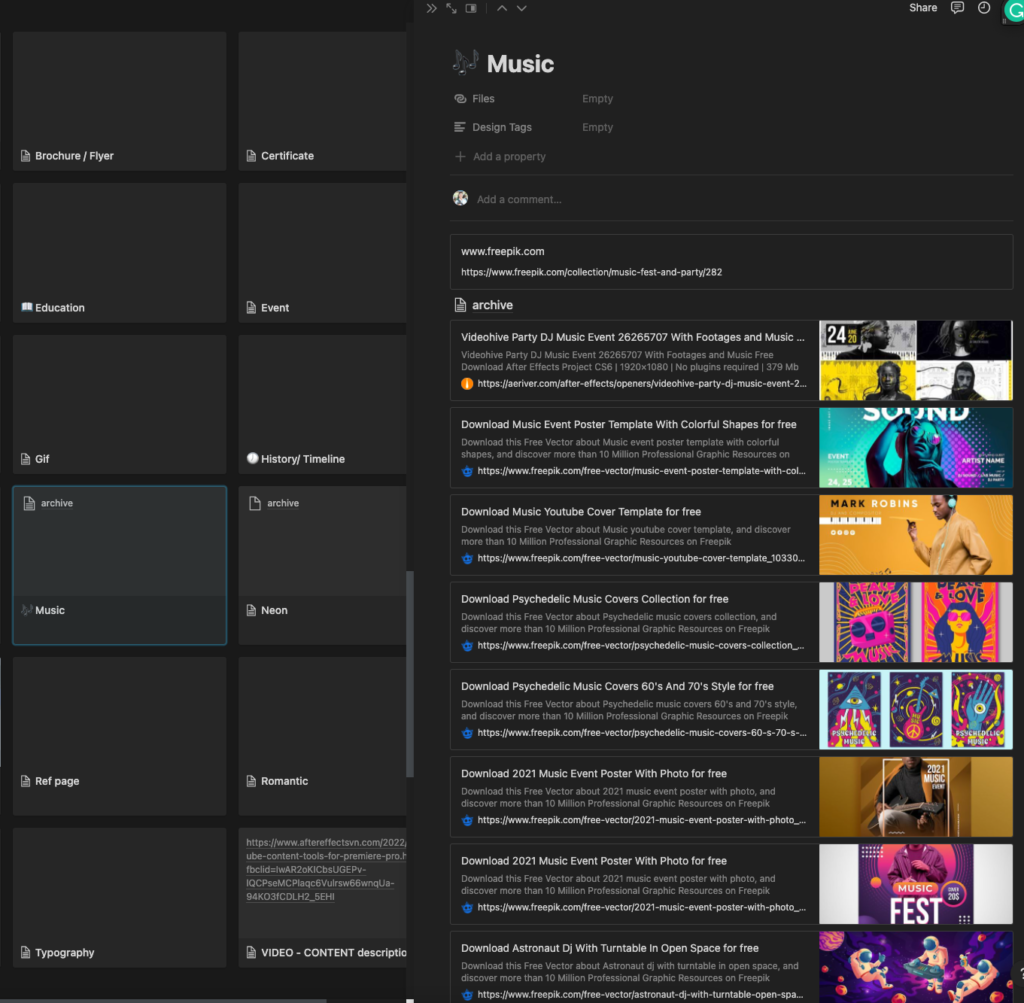
The picture below is the table I am testing after using Save to Notion; quite satisfied; now I want to save a specific source, click Save to Notion, and fill in Topics and Tags. Voila.
When it looks more intuitive & I want to find the source by Topic, check on the Design Tags table above.
Demo & Basic Guide
By now, you must have figured out the application of this Extension already. Let’s go to the User Manual before use; you will need:
If you’re new to Notion, let’s check this article and comeback in 2 minutes.
If you’re familliar to Notion, let’s try. I will create 1 table view named “Demo Topics”, with 3 demo topics: Music – Gym – Design
Layout: Gallery
Card Preview: None
Card Size: Small
The target of this board is for linking with the main Database in the next step
Create the main Database you will use to save data, named “Demo for Save to Notion” with the Properties as below:
Name
Link: choose “URL”
Source: choose “Multiple Choice” & create the Sources you often watch
Topics: choose “Relation” and link it with “Demo Topics” as above
The other Properties will be setup depend on your need
Setup Save to Notion, demo as the below gif:
Click “Add New Form”
Add To: choose “Demo for Save to Notion”
Options: Choose “Clip Page Content” if you want to save all the web content(only choose this with the necessary article to reduce the data amount for your database)
Fields:
Name: Page title (default)
add Cover: Page Image (default)
add Source: leave it blank (filled by yourself)
add Topics: leave it blank (filled by yourself)
Click Save & Go Back
Open a website and test the result:
Click icon “Save to Notion”
Choose the Template you already setup (you can setup many Template with your different need)
choose Source
choose Topics
Click “Add New Page”
Check the result in Notion
Conclusion
Till now, I think you already know how to use Extension Save to Notion.
I hope this article can help you in some way.
If you have any questions or need advice or system setup, you can contact me via Facebook, Linkedln, or send an email directly to my email: nhatnguyen.work@gmail.com.
Thank you all for taking the time to read my post.